1. Navigate to your HayHost Home page, then click "DOMAINS" (It will display a list of your domains).

2. In the "My Domains" section, choose the domain you want to create DNS for and click the "Settings" icon.

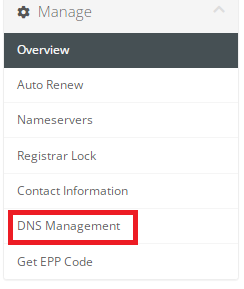
3. On the left side of the window that opens, select "DNS Management".

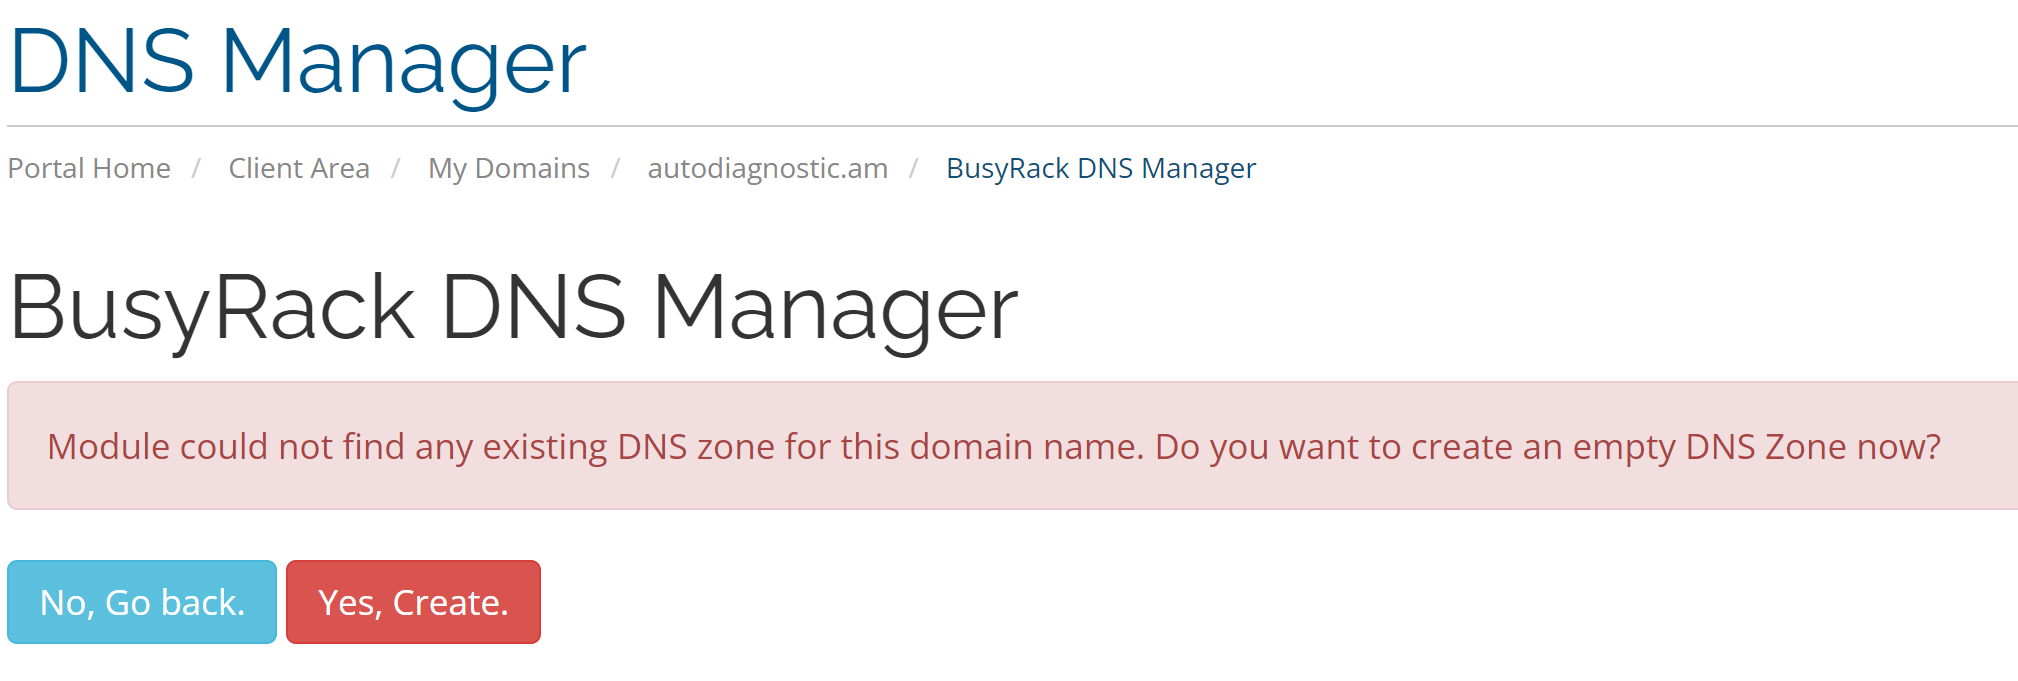
4. To create a DNS zone, click the "Yes, Create" button.

5. Default DNS zone was created, now you can edit or add all necessary records.
6. If you want to remove the created DNS management, just click "Delete DNS Zone".
Congratulations, now you know how to activate DNS Manager!

