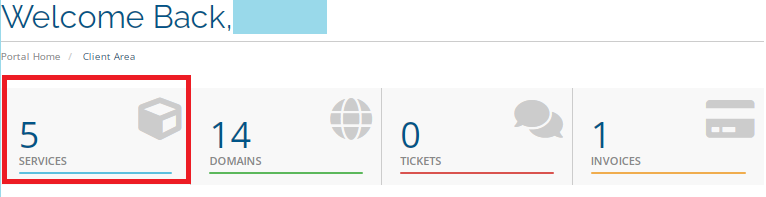
1. From the home page of your HayHost client area, click "SERVICES".
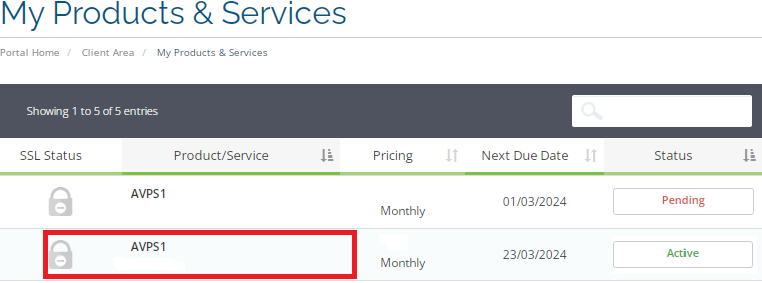
2. In the My Products & Services section, select the server on which you would like to log in via the console.
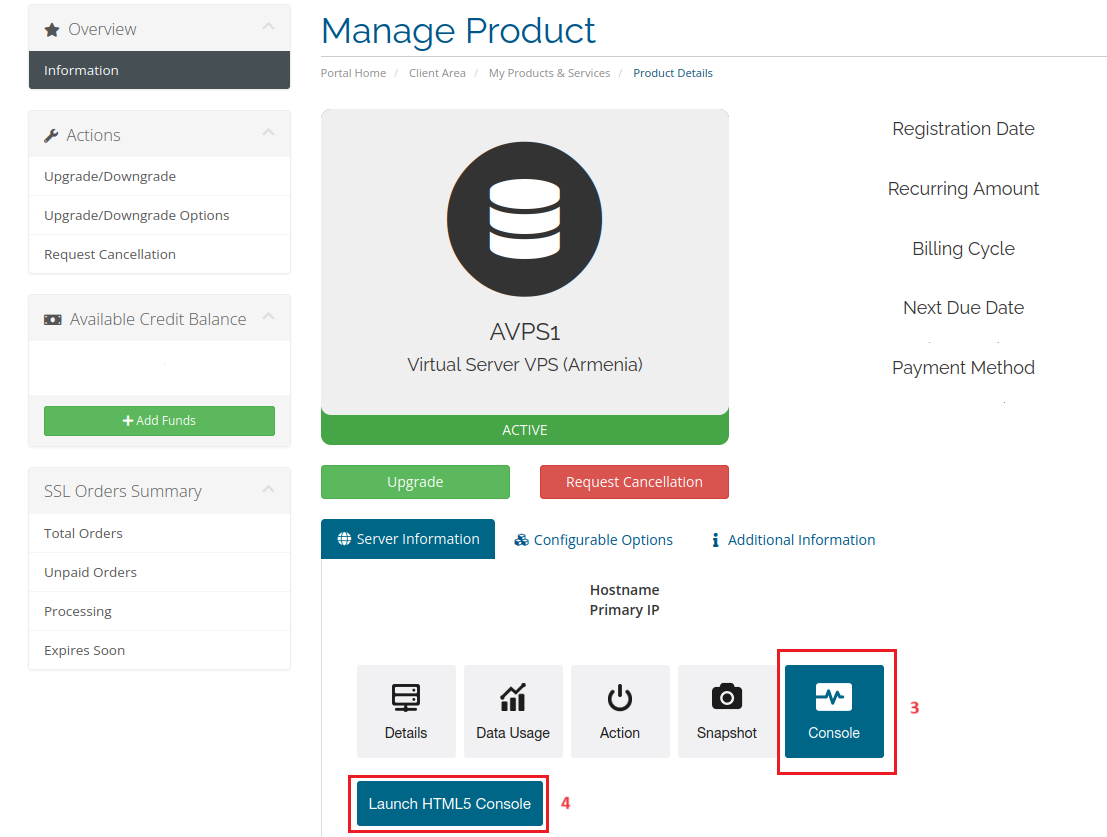
3. Activate the console screen, and click on the "Console".
4. Click "Launch HTML5 Console".
To log in, use your root user and the root password that you received via "Email".
5. At first type the command
sudo su
6. Open the configuration file with an editor
nano /etc/netplan/99-netcfg-vmare.yaml
or
nano /etc/netplan/00-installer-config.yaml
7. Edit the configuration file.
network:
     version: 2
     renderer: networkd
     ethernets:
        ens160:
          dhcp4: no
          dhcp4: no
          addresses: [198.192.11.1/24]
          gateway4: 198.192.11.1
          nameservers:
            addresses:
              - 198.192.11.1
- 9.9.9.9- Press Ctrl + X to start the exit sequence.
- If you've made changes, nano will prompt you to save them. Press "Y" for "Yes" to confirm.
8. Type the command to apply the Netplan configuration.
netplan apply
