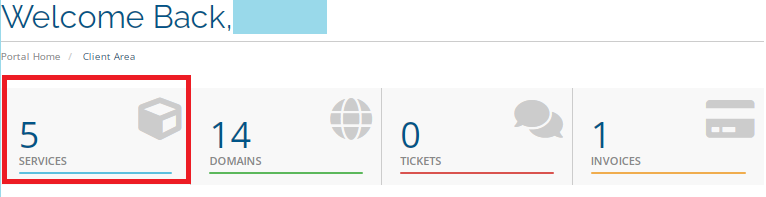
1. From the home page of your HayHost client area, click "SERVICES".
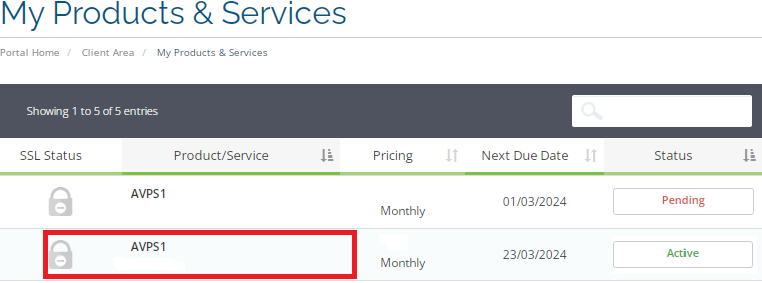
2. Select the server on which you would like to log in via the console.
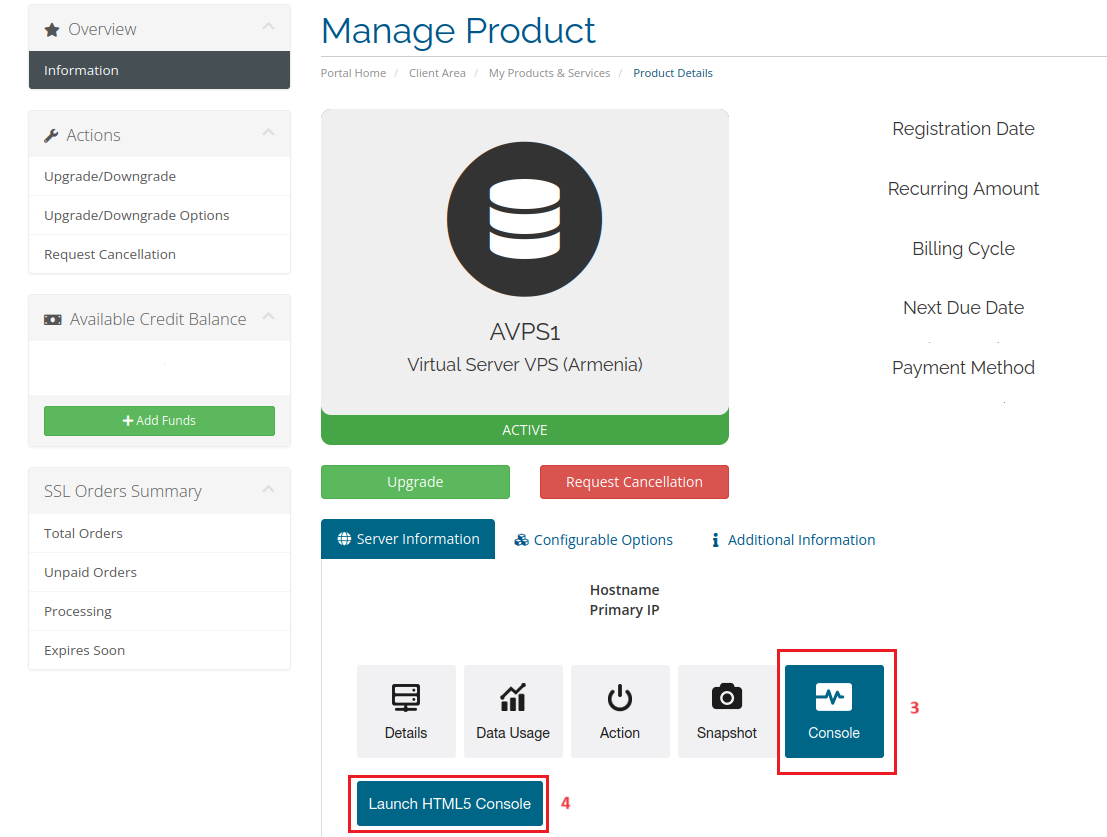
3. Activate the console screen, and click on the "Console".
4. Click "Launch HTML5 Console".
To log in, use your root user and the root password that you received via email.
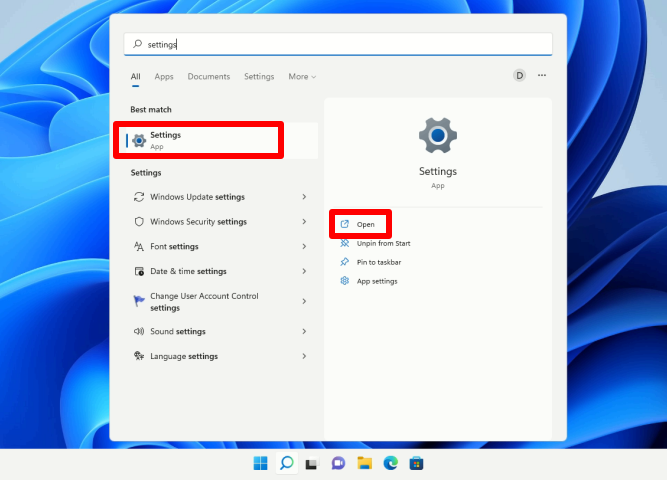
4. Open the Settings app:
5. Go to "Network & internet" and select your network interface. (Ethernet & WiFi)
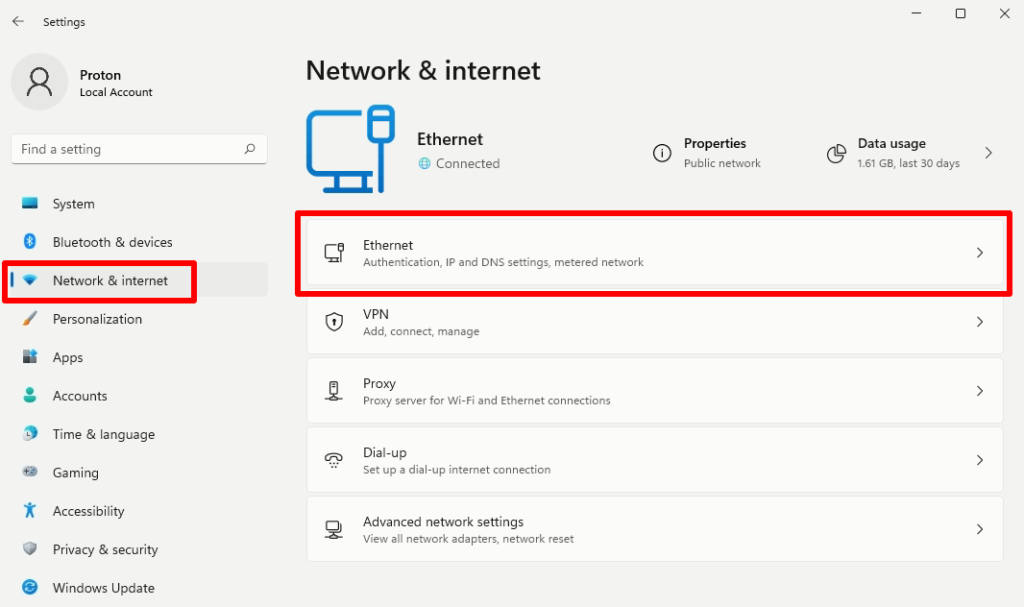
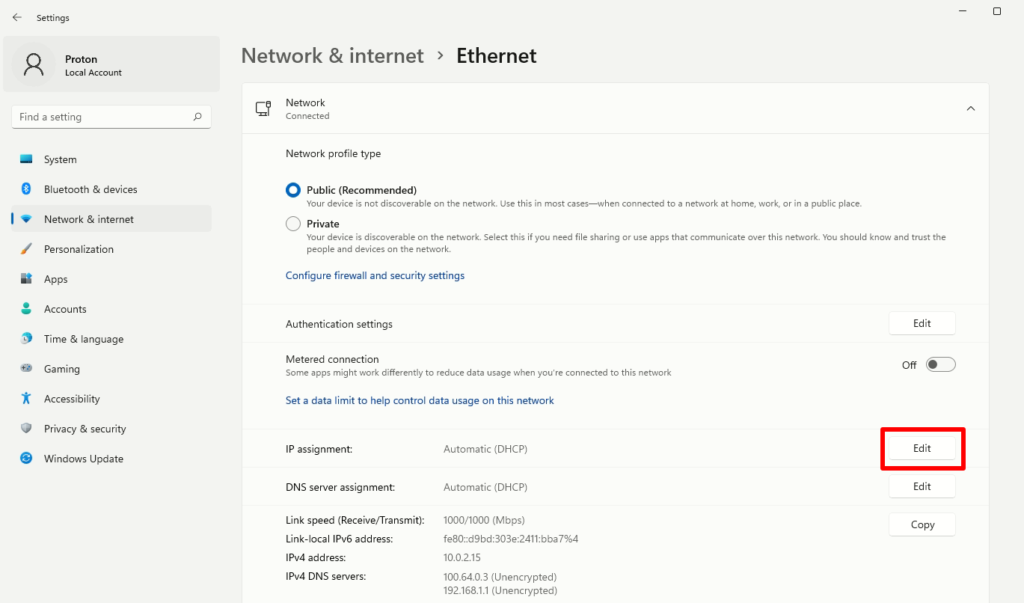
6. If you have an Ethernet connection, click "IP assignment" then click "Edit".
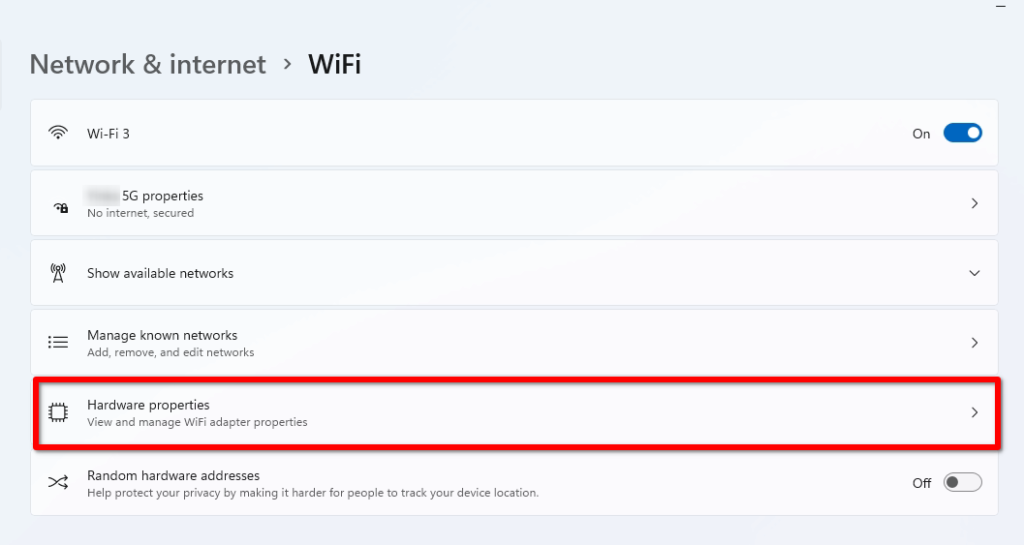
7. If you have a WiFi connection, click "Hardware Properties".
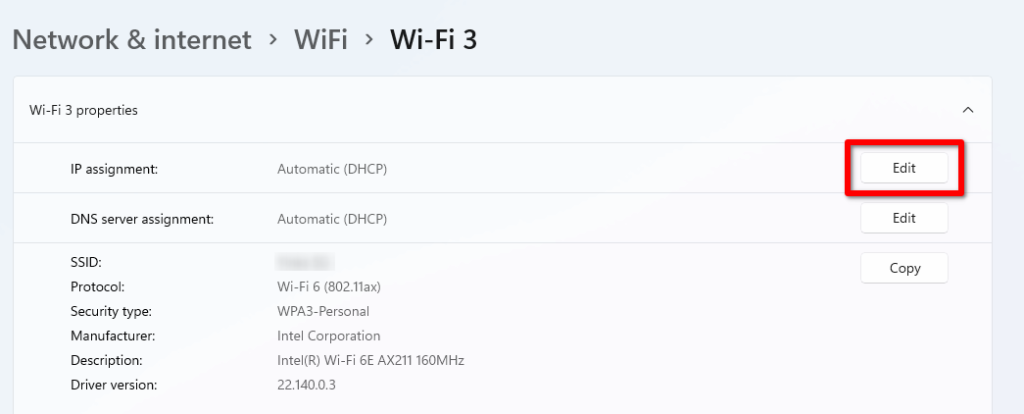
8. Click "Edit".
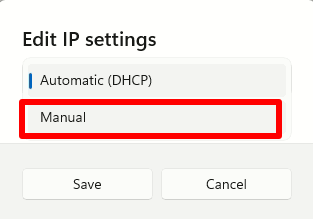
9. Click on the Automatic (DHCP) and select "Manual".
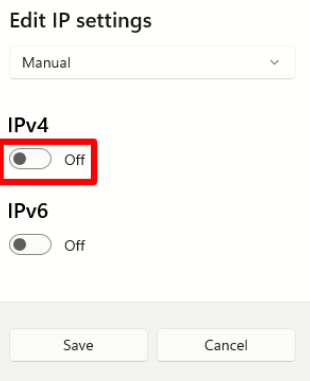
10. Turn On IPv4.
11. Fill your IP address that you received via "Email".
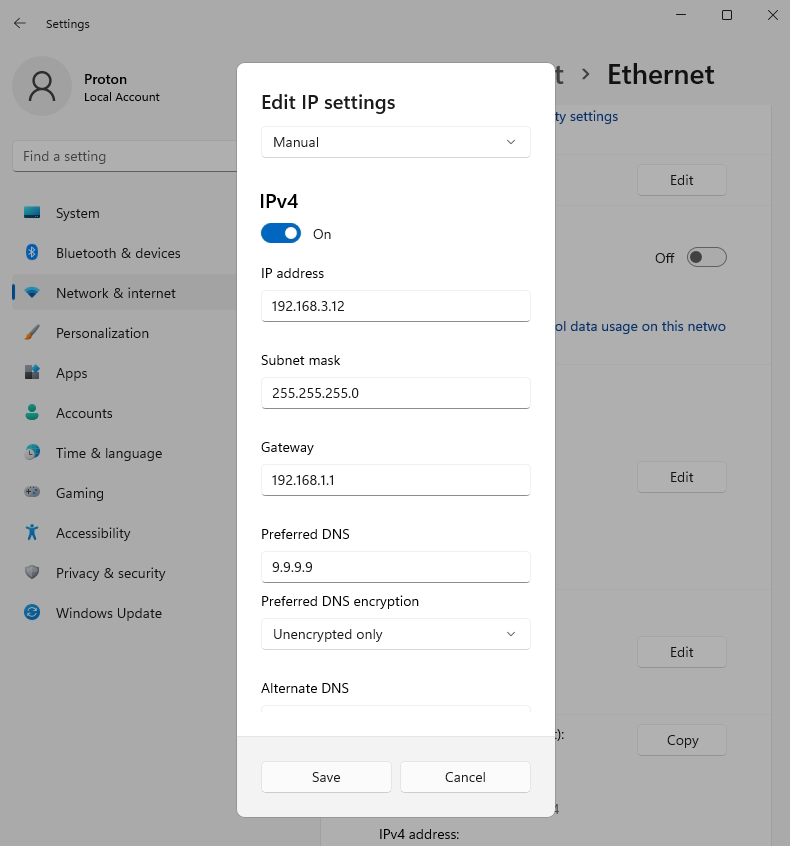
12. Click "Save" when finished.
