1. From the home page of your HayHost client area, click "SERVICES".

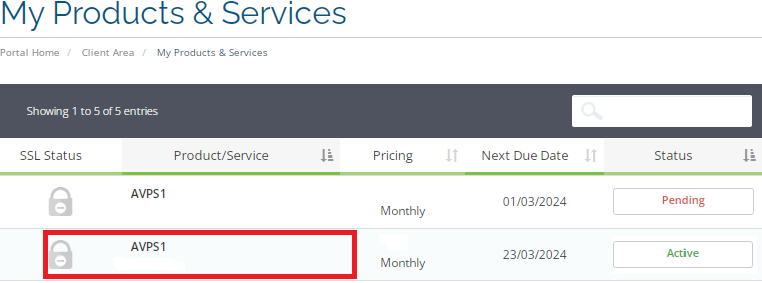
2. In the My Products & Services section, select the server on which you would like to log in via the console.

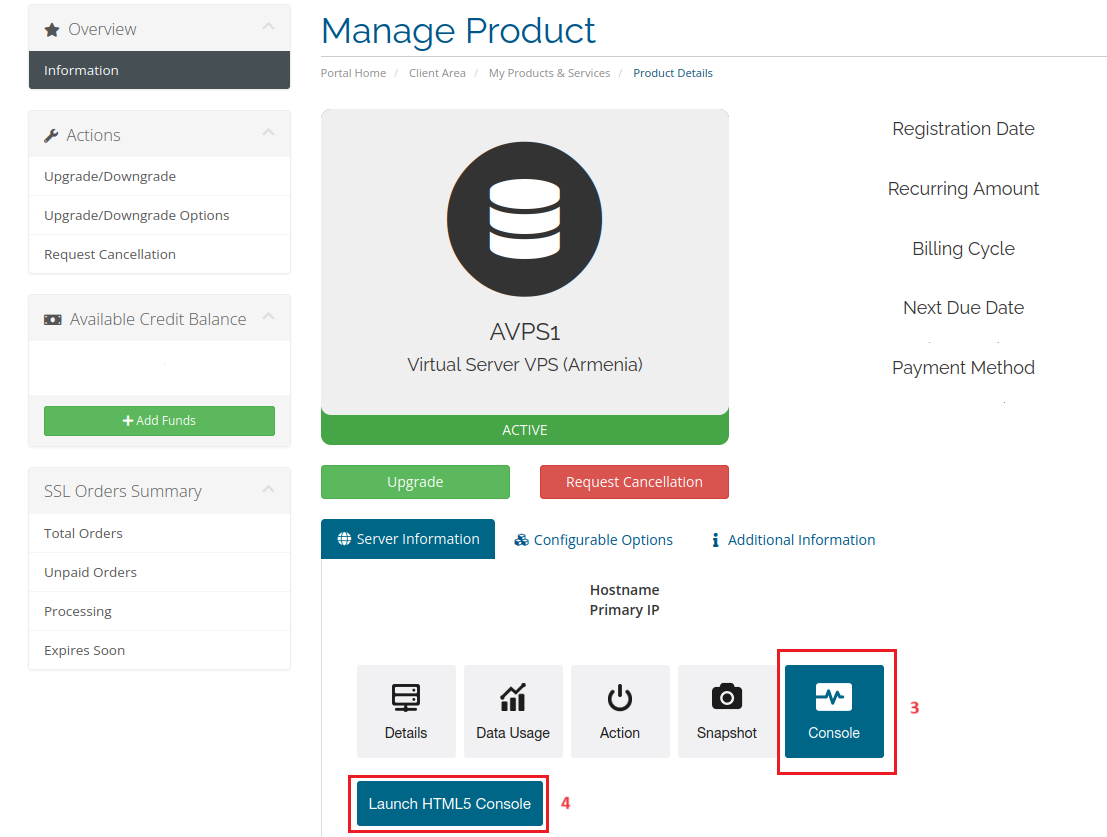
3. Activate the console screen, and click on the "Console".
4. Click "Launch HTML5 Console".

5. To log in, use your root user and the root password that you received via Email.
6. Open the configuration file with an editor. Type this command.
nano /etc/network/interfaces
7. Edit the configuration file, and set the IP address that you received via email.
iface lo inet loopback
auto lo

auto ens192
iface ens192 inet static
address 192.198.1.5
netmask 255.255.255.0
gateway 192.192.13.1
metric 0 8. Press "Ctrl + X" to start the exit sequence.
9. If you've made changes, nano will prompt you to save them. Press "Y" for "Yes" to confirm.
For Network updates type the following
systemctl restart networking

