1. Purchase a Domain and Hosting
To host a website and you plan to host your React app, first, you need to register a domain name and Web hosting for your website. To buy Domain and Hosting(click here) If you buy them together, we will point the domain to your hosting server automatically.
2. Add the Homepage to your "package.json file".
3. Open up your React App. Open up your package.json file and add a "homepage" attribute like so:
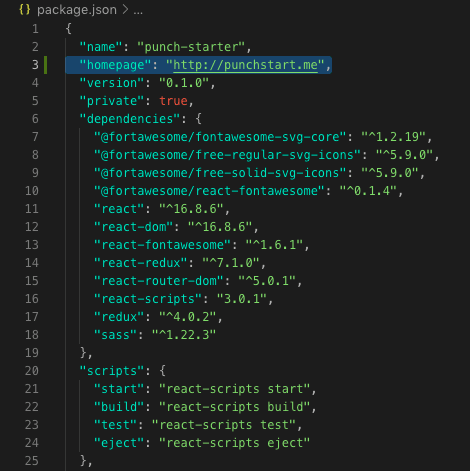
4. The format should be "homepage": "http://yourdomainname.whatever"
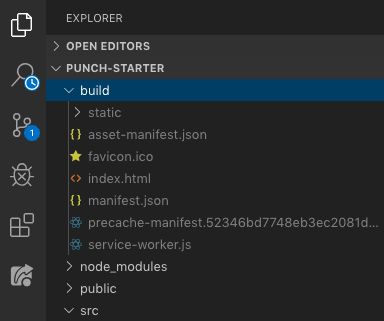
5. Create the "build" file.
6. In your application's root directory, run yarn install to install the updated dependencies. Once this has finished, the next command you'll run is yarn build (npm install and npm build work, too).
7. You'll notice this creates a new directory in your project called build. The build folder is essentially a super-compressed version of your program that has everything your browser needs to identify and run your app.
8. Connect to cPanel.
Your cPanel manager should look something like this:
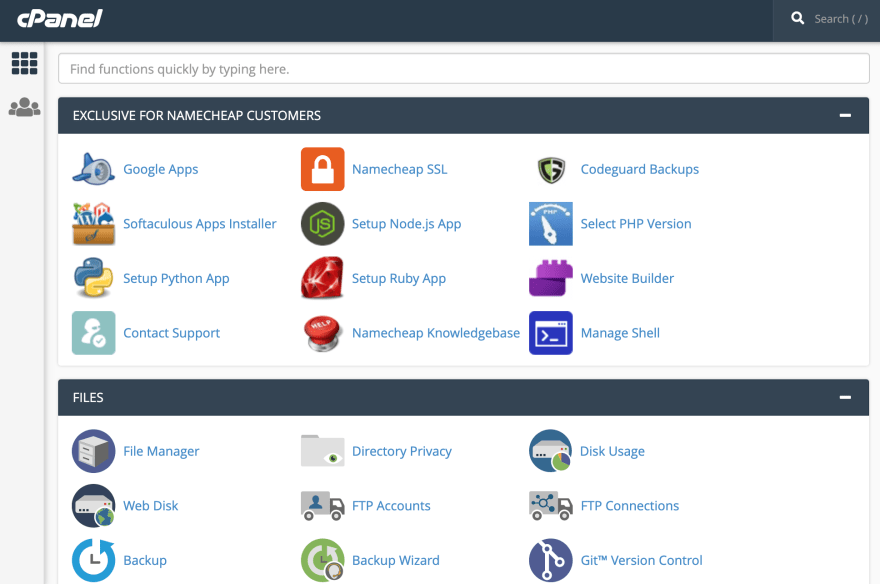
9. Navigate into the "File Manager". There you'll find a dropdown list of directories. The one we're interested in is public_html. Open that up.
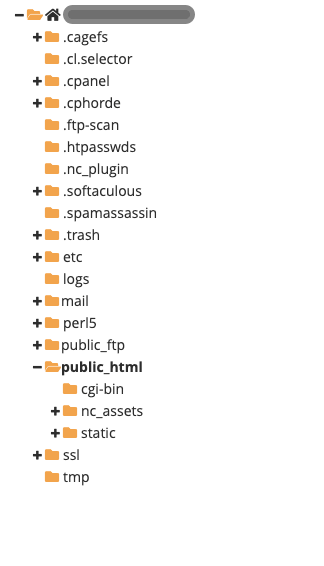
10. Add the Build File Contents to public_html
11. Navigate to the build file in your app's root directory. Open it up and select all the contents inside the build folder. If you upload the entire build file itself, the process will not work.

12. Once you've copied all the contents inside the build file, upload them into public_html.
13. Create and Upload the .htaccess file
14. In order for the routes to work in your React app, you need to add a .htaccess file. In the public_html folder, at the same level as the build file contents, add a new file, and name it .htaccess.
15. Edit the file and insert the following boilerplate information:
<IfModule mod_rewrite.c>

  RewriteEngine On
  RewriteBase /
  RewriteRule ^index\.html$ - [L]
  RewriteCond %{REQUEST_FILENAME} !-f
  RewriteCond %{REQUEST_FILENAME} !-d
  RewriteCond %{REQUEST_FILENAME} !-l
  RewriteRule . /index.html [L]

</IfModule>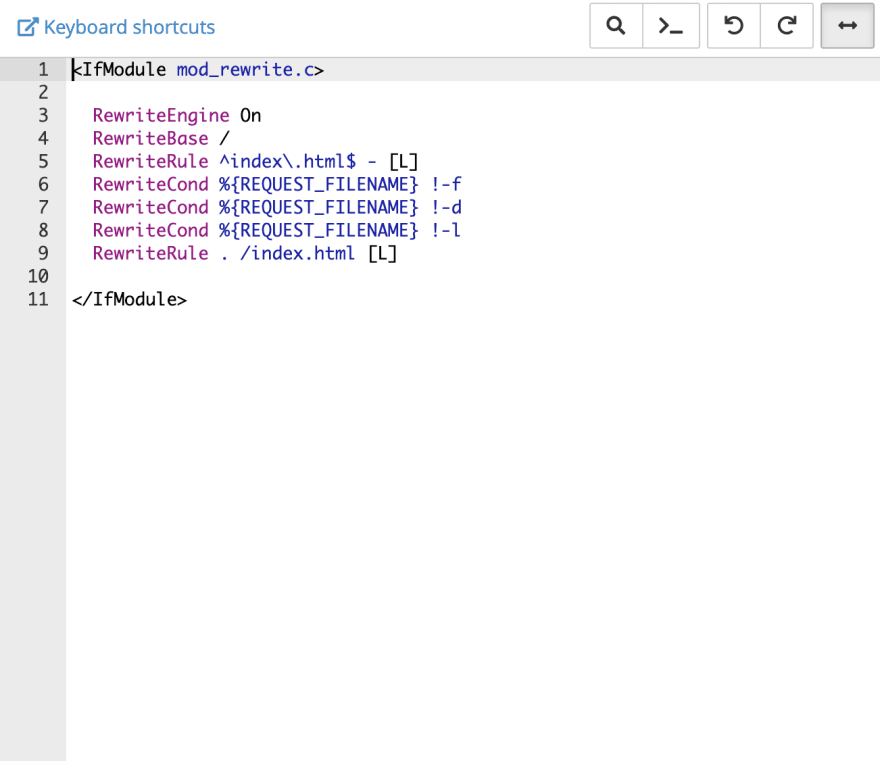
16. Save the file.
That's it! Navigate to your domain address in the browser, and you should see your fully functioning web app.
A Note on FileZilla
I know a lot of folks like to use FileZilla to deploy and host their custom web apps. I found it to be unnecessary for my purposes, but should you choose, you can:
- Download and run FileZilla,
- Grab your domain's ip address (or ask your hosting provider),
- Input the domain IP, cPanel login, cPanel username, and host port (i.e. 21. Your hosting provider should provide that info for you) into the top bar,
- Click QuickConnect,
- Once connected, navigate to, select, and copy the contents inside the
buildfile (in the left-side pane showing your computer's directories), - Navigate to the
public_htmldirectory in the cPanel pane on the right-hand side. Paste the contents of thebuildfile intopublic_html, - Create the
.htaccessfile with the same information listed above.
